1.1. Click the "Cloud Callout Button" from Callouts Group


1.2. The cursor turns into a crosshair. To draw the shape, click and drag:
Hold Left mouse button to create the first point.
Move the mouse and release to create the second point
PDFill | Overview | First | Previous
How to use Office Shapes inside PDFill PDF Editor Enterprise
Here are 4 steps to create Office Shape with Text
Step 1: Select and Create a Shape
Step 2. Move to the diamond hot spot if there is a hot spot
Step 3. Add a Shape Text
Step 4: Update Property of Shape
Step 1. Select and Create a Shape
1.1. Click the "Cloud Callout Button" from Callouts Group
1.2. The cursor turns into a crosshair. To draw the shape, click and drag:
Hold Left mouse button to create the first point.
Move the mouse and release to create the second point
Step
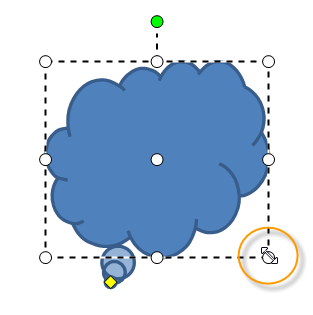
2. Move to the diamond hot spot if there is a hot spot
Move the mouse to the tiny yellow diamond hot place until the mouse shape changes.
Hold Mouse and drag the hot spot to move the end of the cloud anywhere you want to place.
Step 3. Add a Shape Text
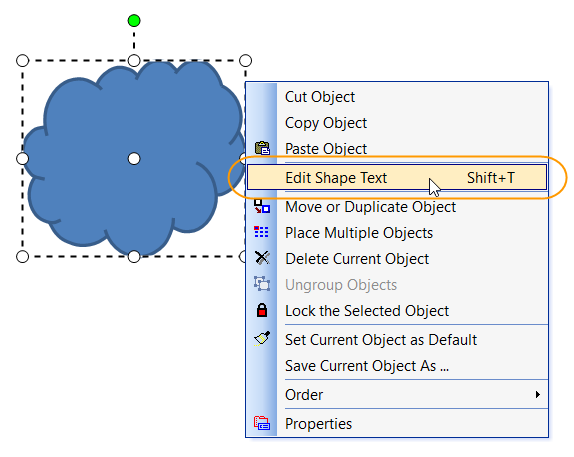
3.1. With the shape selected, right click to select "Edit Shape Text"
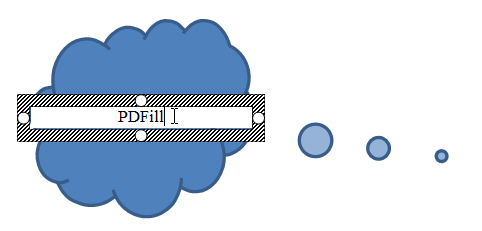
3.2. Type Text inside the Box. The text that you add becomes part of the shape ý if you rotate the shape, the text rotates also.
3.3. Drag the Text Box anywhere you want to put the text
3.4. Update the Font and Style of the Text from Toolbar or from Text Property. See detailed in Multiple Line Text
Step 4. Update Property of Shape:
From the Property of the Callout, you can update the Line Style, Fill Color